A few tips and tricks for using the new iPad vSphere Client:
1. The vCenter Mobile Access (vCMA) appliance is required, the iPad vSphere Client cannot directly connect to hosts and vCenter Servers. The vCMA is needed as a proxy, the iPad vSphere Client connects to the vCMA and the vCMA then connects to the destination host/vCenter Server. I ran netstat on the vCMA and also on the vCenter Server and it looks like all connections between the iPad/mobile devices and the vCMA are on port 443, additionally it looks like the only port used between the vCMA and the vCenter Server is port 443 as well. So if you need to configure firewalls the only port you should need to open is port 443.

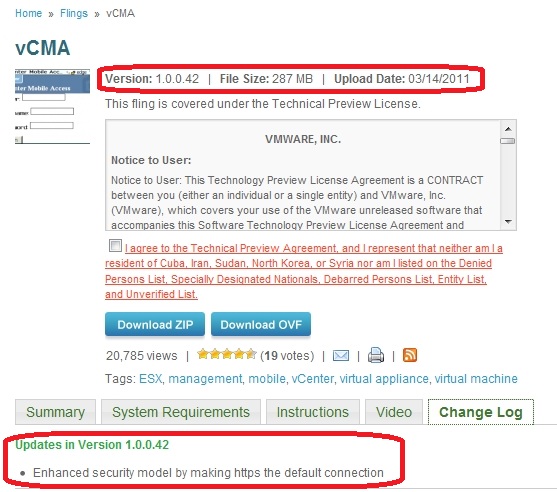
2. You MUST use the latest version (1.0.0.42) of the vCMA which was released on 3/14/11, if you use an older version you will get an error message that the connection has failed. This is because the iPad vSphere Client connects to the vCMA using SSL and prior versions of the vCMA did not support SSL. If you have an older version (1.0.0.41 or earlier) of the vCMA already deployed, delete it and re-deploy the new one.
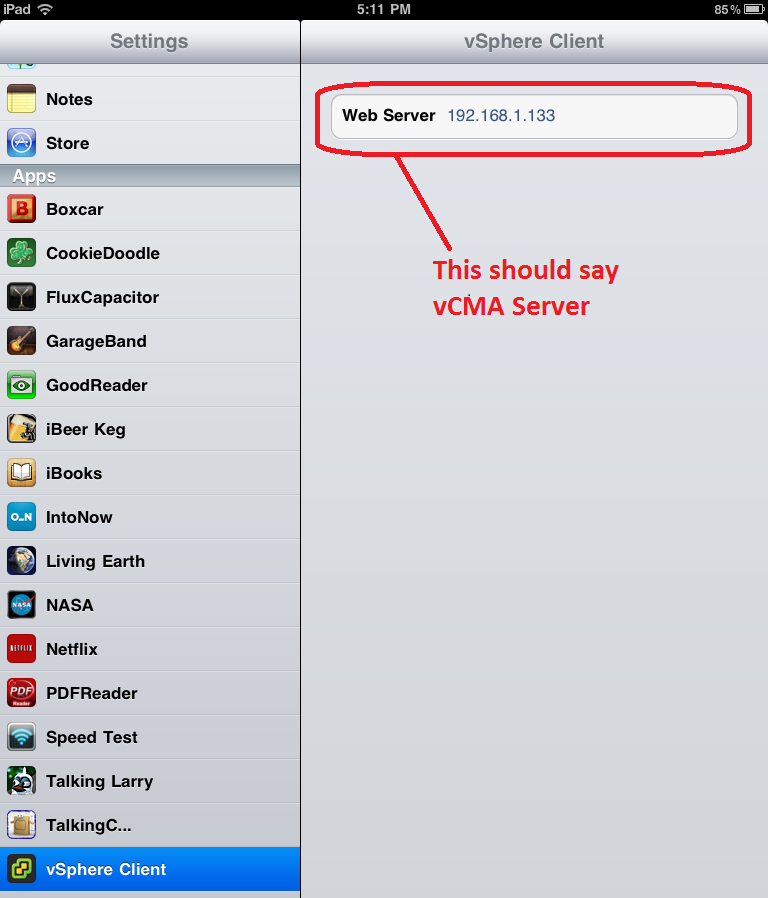
3. You MUST set the Web Server field in the Settings app of the iPad before you can use the vSphere Client app. This field is for setting the IP address of the vCMA so it knows where to connect to it. This field is confusing it should say vCMA hostname/IP address, make sure you do not put https:// in this field, just the host name or IP address.
4. You will get a certificate error when logging in every time the app is freshly open (not running in background). This occurs because a self-signed certificate is used for the SSL, this is common with any self-signed certificate, the same behavior happens in web browsers.
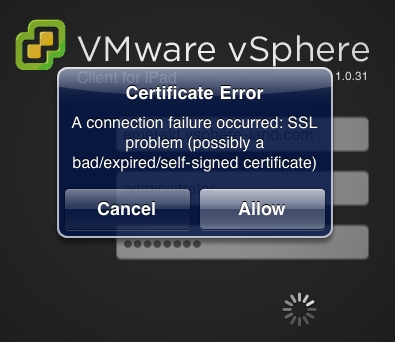
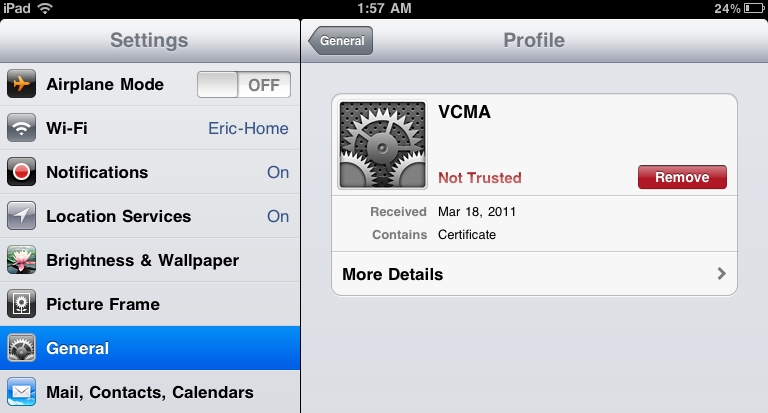
I’ve tried installing the certificate on to the iPad by extracting it into a DER file using a web browser, emailing it to myself, opening it on the iPad and installing it as a profile and the error still occurs. I also tried installing it with the iPhone Configuration Utility with the same results. Therefore it looks like the only way to eliminate the error is to create and install a trusted certificate from a vendor like GeoTrust or Verisign. This process is not documented and is fairly complex so it might be difficult to do.
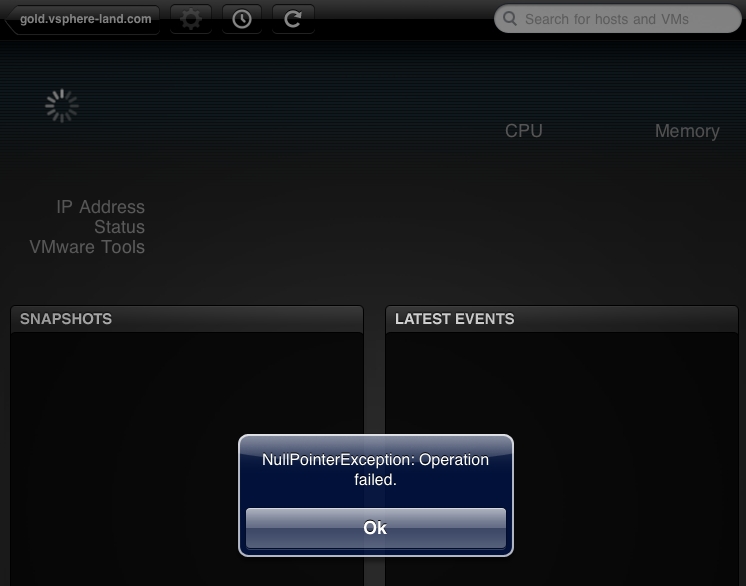
5. While you can connect to either a vCenter Server or directly to ESX/ESXi hosts, it looks like there is a bug that occurs when you connect directly to hosts. After you connect if you click on a VM you will get a “NullPointerException: Operation Failed” error message. This issue has also been reported to happen on some hosts as well even when connecting to a vCenter Server. VMware is currently investigating this issue, you can help by adding your feedback here if you experience the problem.
6. As soon as you deploy the vCMA, change the root password right away, the default login for the vCMA is root/vmware. To do this open a console window on the vCMA and select Login from the CLI console window and login using the username root and password vmware. Once logged in type the command passwd and enter the new root password. You can then type logout to end the session.

7. The Set Time Zone option on the CLI console main screen does not work, to set the time and time zone you can use standard Linux commands (all commands are case sensitive). The vCMA is running CentOS, follow the below procedure to update the time zone and time:
- Open a console window on the vCMA and select Login from the CLI console window.
- In the CLI console change to the timezone directory: cd /usr/share/zoneinfo
- Find the file for your time zone, you can type ls to see the directory contents, blue items are sub-directories. There are both general (.i.e Mountain) and specific (i.e. Denver) timezones for areas, either will work. Note the path to the file you plan on using.
- Backup and get rid of the current time zone file by moving it: mv /etc/localtime /etc/localtime-old
- Create a new symbolic link to point to the timezone file that you chose in step 2: ln -sf /usr/share/zoneinfo/US/Mountain /etc/localtime
- To change the time type date -s “20 MAR 2011 10:30:00”
- Logout and the proper time zone should show on the vCMA main blue screen
8. While you can successfully connect to vCenter Server 2.x and ESX 3.x hosts with the app you will not be able to do anything and will not see any host/VM objects listed. However ESX 3.x hosts appear and work OK if they are managed by a vCenter Server 4.x and you connect to it with the app.
9. There currently is a bug that prevents you from scrolling through the list of hosts if they exceed the amount that can be displayed on the screen. Typically this amounts to more than 12 hosts, this will most likely be fixed in the next version.
10. Bear in mind that the iPad vSphere Client and vCMA are “Flings” which means it is a technology preview, essentially it’s a live beta version that is still being developed. It will get better quickly as new versions are released, the development schedule for this will be much quicker than the usual VMware update schedule for vSphere software. VMware wants customer input to guide their development efforts to determine what features that they should include in the app so be sure and let them know by posting in the vCMA forums. Features like vMotion and remote VM consoles have been frequently requested already. VMware plans to integrate the vCMA functionality natively into vCenter Server in a future release.
11. Being a Fling, this also means there is currently no official support for the app. VMware is watching the vCMA and iPad app forums though and will respond to any issues that are posted there.
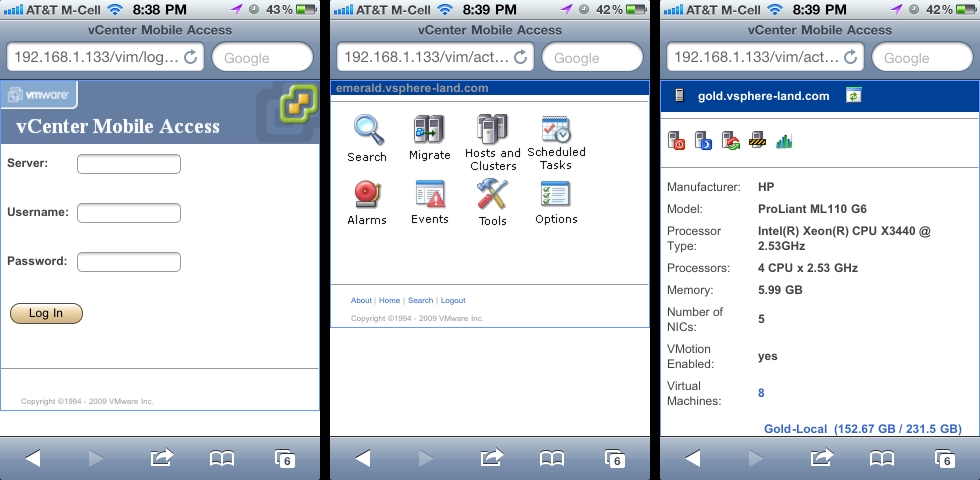
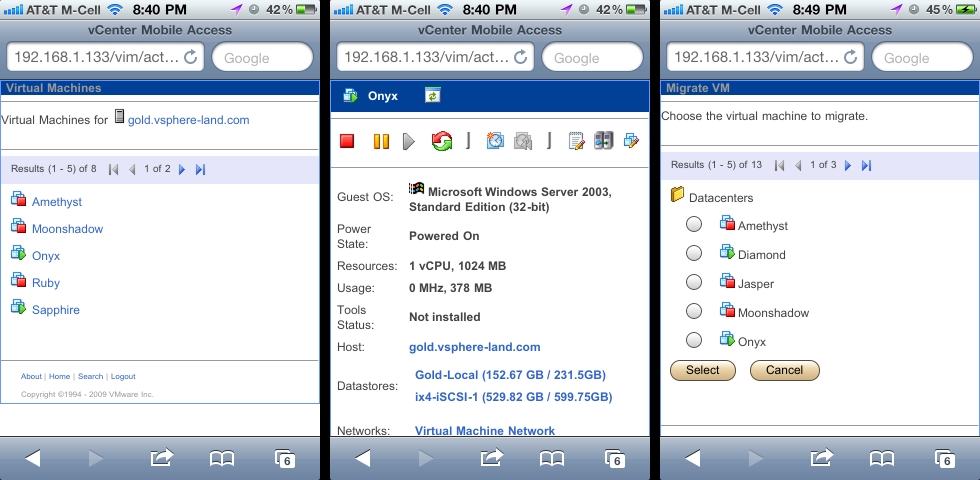
12. You can also use the vCMA with any mobile device with a web browser by connecting to the following URL: <https://IP address or hostname of vCMA/vim> i.e. https://192.168.1.133/vim. Note you must use https, there is no http running on the vCMA and no automatic re-direction from http to https. VMotion is supported on the vCMA web UI by using the Migrate feature.
13. Don’t forget to RTFM, here are some helpful links for the iPad vSphere Client app and vCMA:


