In part 1 we covered everything you need to do to prepare and backup your WordPress site before migrating it to another hosting provider. Now we’ll continue with setting up the site on the new hosting provider and copying all your data from your old hosting provider over.
1. Setup your new hosting account
I moved my site from GoDaddy to HostGator which had decent pricing and features. I went with the “Baby” plan which is their middle plan and features unlimited bandwidth, disk space and domains for around $8/month. Below is a basic comparison of their plans, you can see a full comparison here. 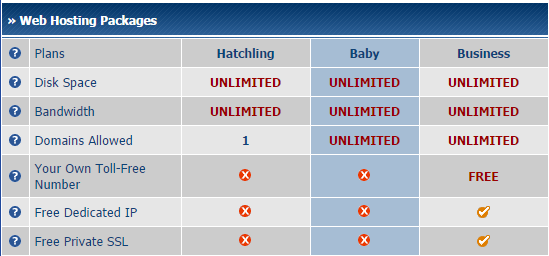 Shortly after you sign-up you should receive any email with the details to set it up.
2. Setup FTP and copy your files to the new web server
Next I logged in to the website control panel. FTP is automatically setup to the default account name that you choose when you setup the initial website, you can modify your FTP settings in the control panel though. There are also FTP client config files that you can use to easily setup a FTP client entry so you can connect to your website. 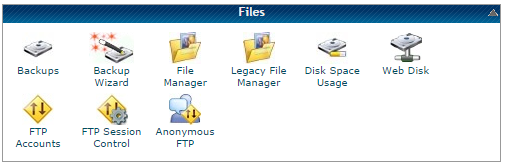 Once I connected with FileZilla, my home directory on the web server shows several different sub-directories, you want to go to the public_html directory which is the default directory for website content. Note on other hosting providers this may be different and you might only see your default web directory and not other sub-directories.
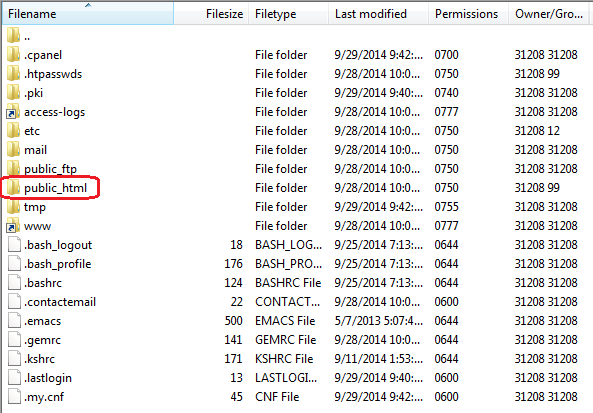
Next you need to copy all of the files and directories (wp-admin, wp-content, wp-includes, etc.) that you backed up from your website on your old hosting provider into the public_html directory. Now that all your WordPress files are there we need to copy the database.

3. Creating the database and importing the tables
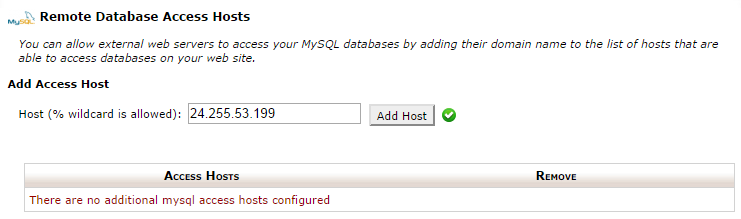
Now we have to create a MySQL database and import the tables that we backed up into it. The first step for me was to add my PC IP address to the Remote MySQL administration white list so I can run phpMyAdmin and perform database operations. With HostGator the default is to block everyone except IP addresses that are added, you may not have to do this with your hosting provider. To find out your external facing IP address just Google “What is my IP address”. To set this up I for go into Remote MySQL in the hosting control panel.
And then add my IP address to the access list.
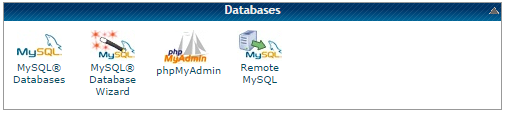
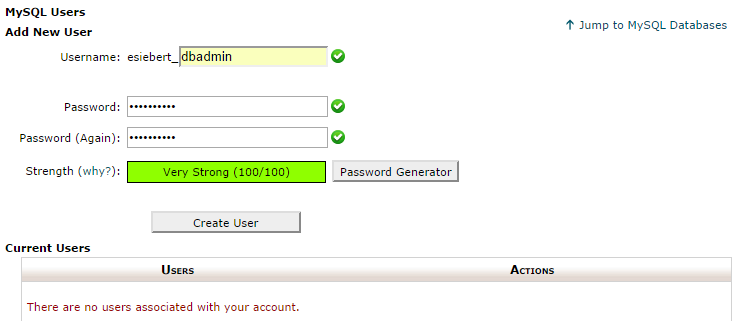
Now we want to setup a database user for WordPress to use, you can use the original username/password that is specified in your wpconfig.php file or specify a different one. If you do use something different you must update your wpconfig.php on the web server with the new credentials. To configure a MySQL user with HostGator you click on MySQL Databases in the hosting control panel and then go to the Add New User section and put in a username/password.
Next I’m going to manually create the database, there is a Create Database statement in the SQL script that is used to import your old database but I’d have to edit that to fit HostGator’s naming convention, so I’ll just manually create it and give it a more descriptive name. To do this go to MySQL Databases in the hosting control panel and then go to the Create New Database section and put in a database name.

Next you want to give the user you created access to the new database you created, to do this go to the Add User to Database section and click Add
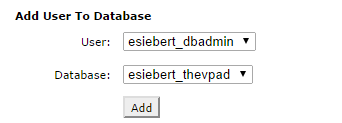
At the next screen give the user All Privileges to the database.

Now we have our user and database setup, time to go to phpMyAdmin and import the .SQL file that we created when we exported our database from our original hosting provider. Before we do that we have to comment out the CREATE statement at the top of the .SQL file as we have already created our database. Edit the .SQL file on your PC using a good text editor that understands SQL like Notepad++. I changed this section:
[important]–
— Database: `pla1002002410429`
—
CREATE DATABASE `pla1002002410429` DEFAULT CHARACTER SET utf8 COLLATE utf8_general_ci;
USE `pla1002002410429`;[/important]
to this:
[important]– Database: `pla1002002410429`
—
— CREATE DATABASE `pla1002002410429` DEFAULT CHARACTER SET utf8 COLLATE utf8_general_ci;
USE `esiebert_thevpad`;[/important]
I put a — (2 dashes) in front of the CREATE statement to comment it out so it will not execute and then changed the database name in the USE statement to match the database I created. Note that HostGator puts the hosting account username “esiebert” in front of the database name so I couldn’t use just the database short name “thevpad”.
Now it’s time to import the .SQL and create our tables and fill them with data. Go into phpMyAmin and click on the Import tab and then select the .SQL file on your local PC and then click Go.
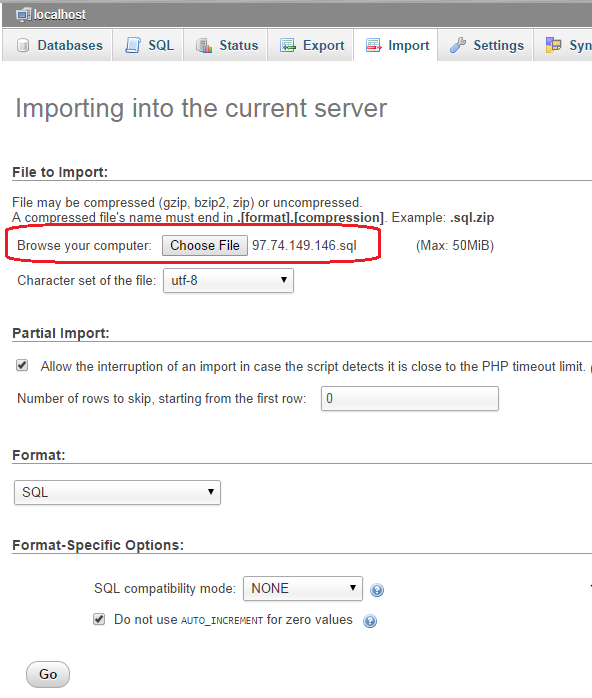
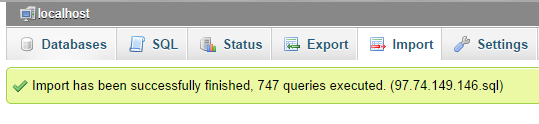
It should execute and start importing, depending on how big your website is it could take a few seconds or a few minutes. Once it is done you should see a confirmation message.
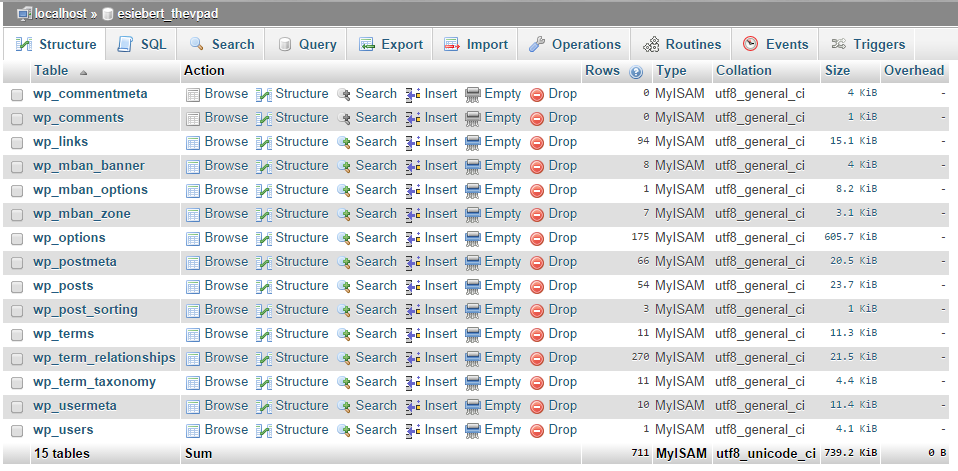
You can verify that your WordPress tables have been imported by clicking on the Database tab and the clicking on your database.
4. Final steps
Now that we have copied our WordPress files via FTP and our database via phpMyAdmin we have everything in place and there are just a few final steps left. The first is to update our wpconfig.php on the webserver to reflect our new database name and username/password. To do this open FileZilla, connect to the webserver, find your wpconfig.php and select View/Edit. Here is the section we need to edit:
[important]
// ** MySQL settings – You can get this info from your web host ** //
/** The name of the database for WordPress */
define(‘DB_NAME’, ‘pla1002002410429’);
/** MySQL database username */
define(‘DB_USER’, ‘pla1002002410429’);
/** MySQL database password */
define(‘DB_PASSWORD’, ‘Admin1234’);
/** MySQL hostname */
define(‘DB_HOST’, ‘pla1002002410429.db.5029023.hostedresource.com’);
[/important]
We want to change the database name, username, password and hostname like so, remember with HostGator you need the account name in front of everything :
[important]
// ** MySQL settings – You can get this info from your web host ** //
/** The name of the database for WordPress */
define(‘DB_NAME’, ‘esiebert_thevpad’);
/** MySQL database username */
define(‘DB_USER’, ‘esiebert_dbadmin’);
/** MySQL database password */
define(‘DB_PASSWORD’, ‘Admin5678’);
/** MySQL hostname */
define(‘DB_HOST’, ‘localhost’);
[/important]
Next it’s time to fire up WordPress and see if it works, we haven’t cutover DNS yet to the IP address of the new hosting server. Before doing that I like to do a quick test to make sure the basic site works. You usually can’t just enter the IP address in a web browser to get to your site as shared hosting usually runs many websites on a single web server and requires a DNS name to direct incoming traffic to your specific website on the web server. I created a new A record in my DNS zone file something like thevpad.vsphere-land.com and pointed it to the IP address of the new hosting web server. Then I use that to test opening up files on the web server in a browser and then going to the WordPress admin page. Note doing this you will not be able to fully access your website on the new web server as anything you click on will re-direct to the old web server as the original DNS entry is hard coded in WordPress, but this will at least allow you to verify that WordPress is running OK.
Hooray it works:

Now that I know WordPress is up and running on the new web server and my data is all there it’s a simple matter of updating my main A records for my DNS domain to point to the new server. At this point you’re done, what I like to do after I make the DNS cutover is upgrade my WordPress version if its not up-to-date and plug-ins and make any other site changes (i.e. themes, settings, etc.). That way if something breaks from doing all that I can simply update DNS to go back to my old server if needed for an easy failback.
And that’s all there is to it. One of the reasons I documented all this is that I have 5 websites to move and I wanted to make sure I had all the steps documented. I got stuck a few times and had to research some things but once I fully understood the process it was fairly straight-forward. I hope this helped anyone else wanting to move their WordPress site to a new hosting provider.